
图像风格迁移做了一件文化衫
用图像风格迁移制作文化衫:介绍原理、模型与损失函数,并提供 PyTorch 实践代码和效果展示。
原文刊载于微信公众号「布尔艺数」,发布日期:2022-03-16。查看原文。以下为当时发布的内容。
阅读小提示:本文纯技术干货,属MinimalAi系列(精悍的AI实践案例),适合小伙伴们日常练手,后续会持续更新,欢迎关注。另外,文末有福利哦
互联网人的夏天一定少不了件又潮又酷的文化衫。
既要潮又要酷!这可难坏了设计小伙伴~赶紧召集大家一起出点子!
一番讨论后,大家一致认为:Hinton !是业界最潮最酷的人!
他是业内广为人知的「领先于潮流」,在所有人都不看好神经网络的那些年,是他,用近40年的研究,将这一技术推向了主流学术界。当被问到为什么不放弃时 ,Hinton坚信 :「其他人都错了(everyone else is wrong)」
so~当理想被质疑时,请温柔的给世界一点时间赶上!
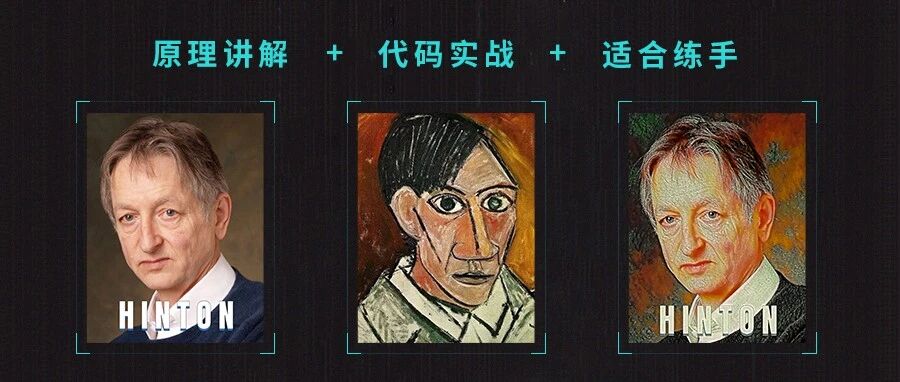
为致敬深度学习先驱Hinton,我们决定基于论文A Neural Algorithm of Artistic Style方法,将毕加索自画像风格嵌入到Hinton个人照片上的效果(莫名苏联风 XD)。
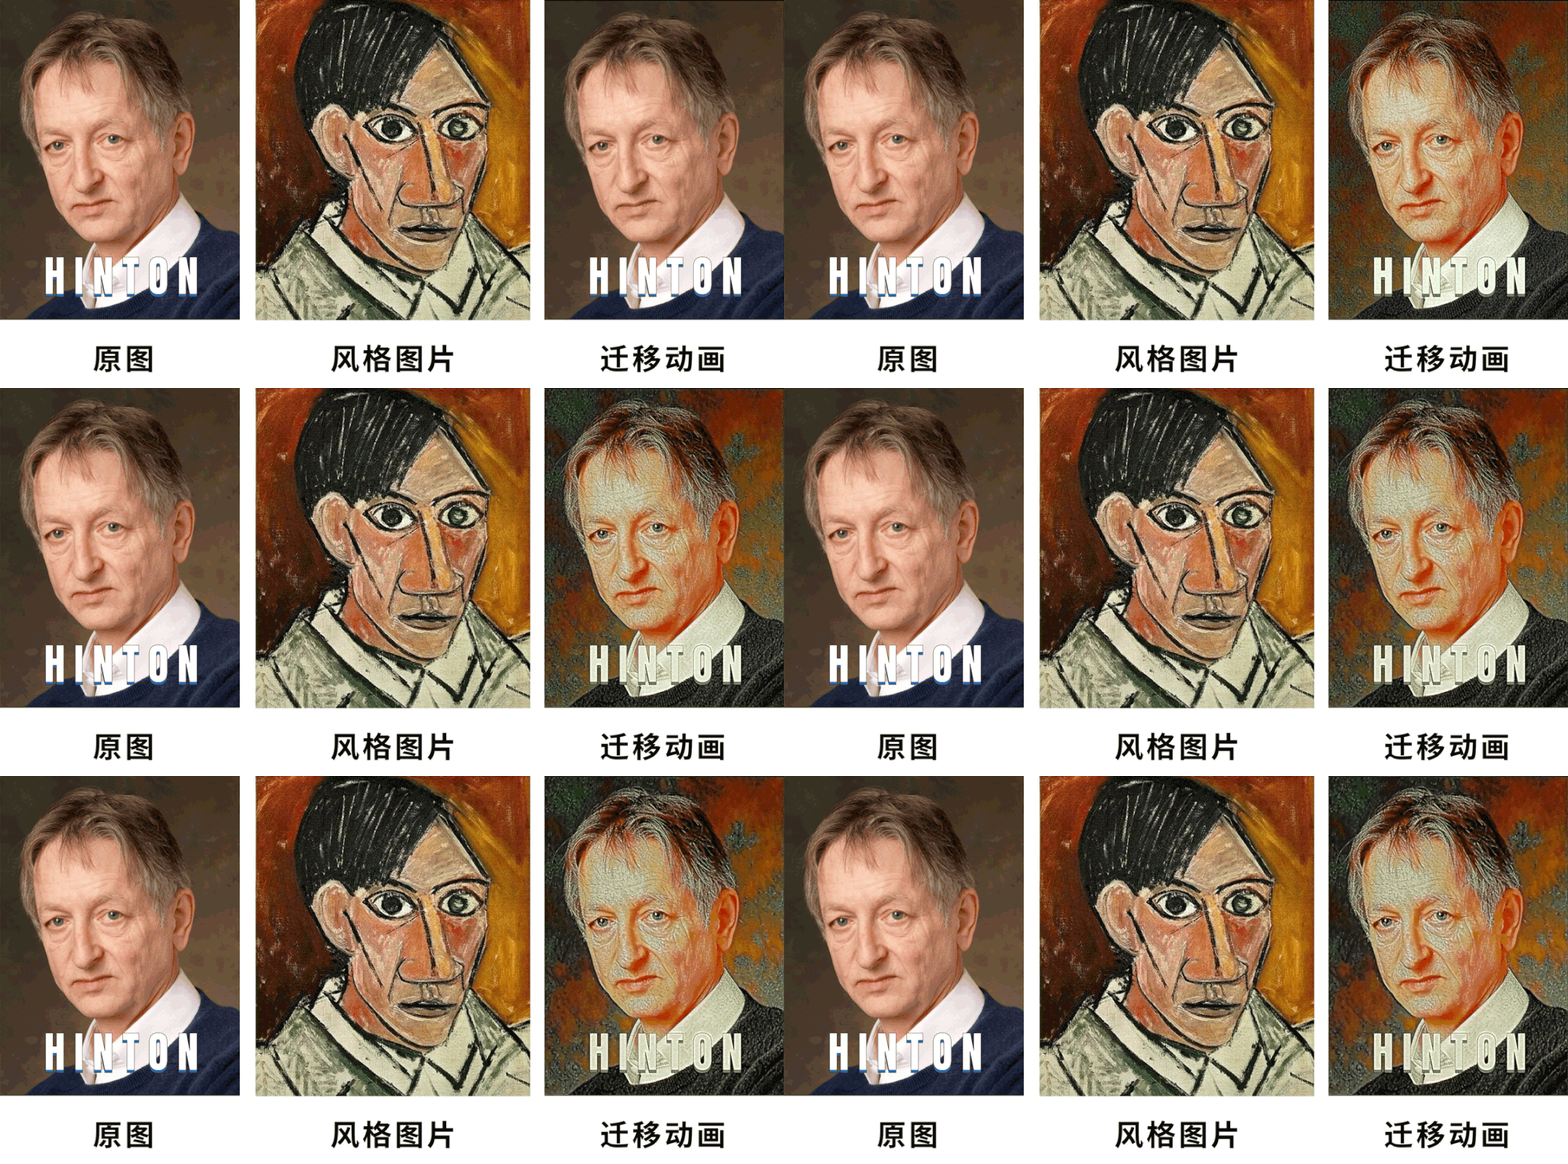
图像风格迁移是在保持原图片内容情况下,将一些艺术图片风格元素融入,看起来像是由艺术家重新画了一版。OK。那我们在讲解原理和实践前,先导入我们需要的工作环境,主要是深度学习框架PyTorch,基于PyTorch的计算机视觉模型预训练库timm,图像数据处理&增强库albumentations.
import os
import sys

import numpy as np
from tqdm import tqdm

import cv2
from PIL import Image

import timm
import torch
import torch.nn as nn
import torch.optim as optim
from albumentations import Compose, RandomCrop, Normalize, HorizontalFlip, Resize
from albumentations.pytorch import ToTensorV2

import matplotlib.pyplot as plt
import imageio

%matplotlib inline
datadir = "./asset/1_image_style_transfer/"
device = "cuda:1" if torch.cuda.is_available() else "cpu"

print(f"python       : {sys.version}")
print(f"torch        : {torch.__version__}")
print(f"timm         : {timm.__version__}")
print(f"device       : {torch.cuda.get_device_name()}")
python       : 3.8.0 (default, Nov  6 2019, 21:49:08)
[GCC 7.3.0]
torch        : 1.9.1+cu111
timm         : 0.5.4
device       : NVIDIA GeForce RTX 3090
工作原理:
coding之前,我们还是希望能弄懂这个东西是怎么工作的,如何将绘画风格从一个图片迁移到另一个图片呢。
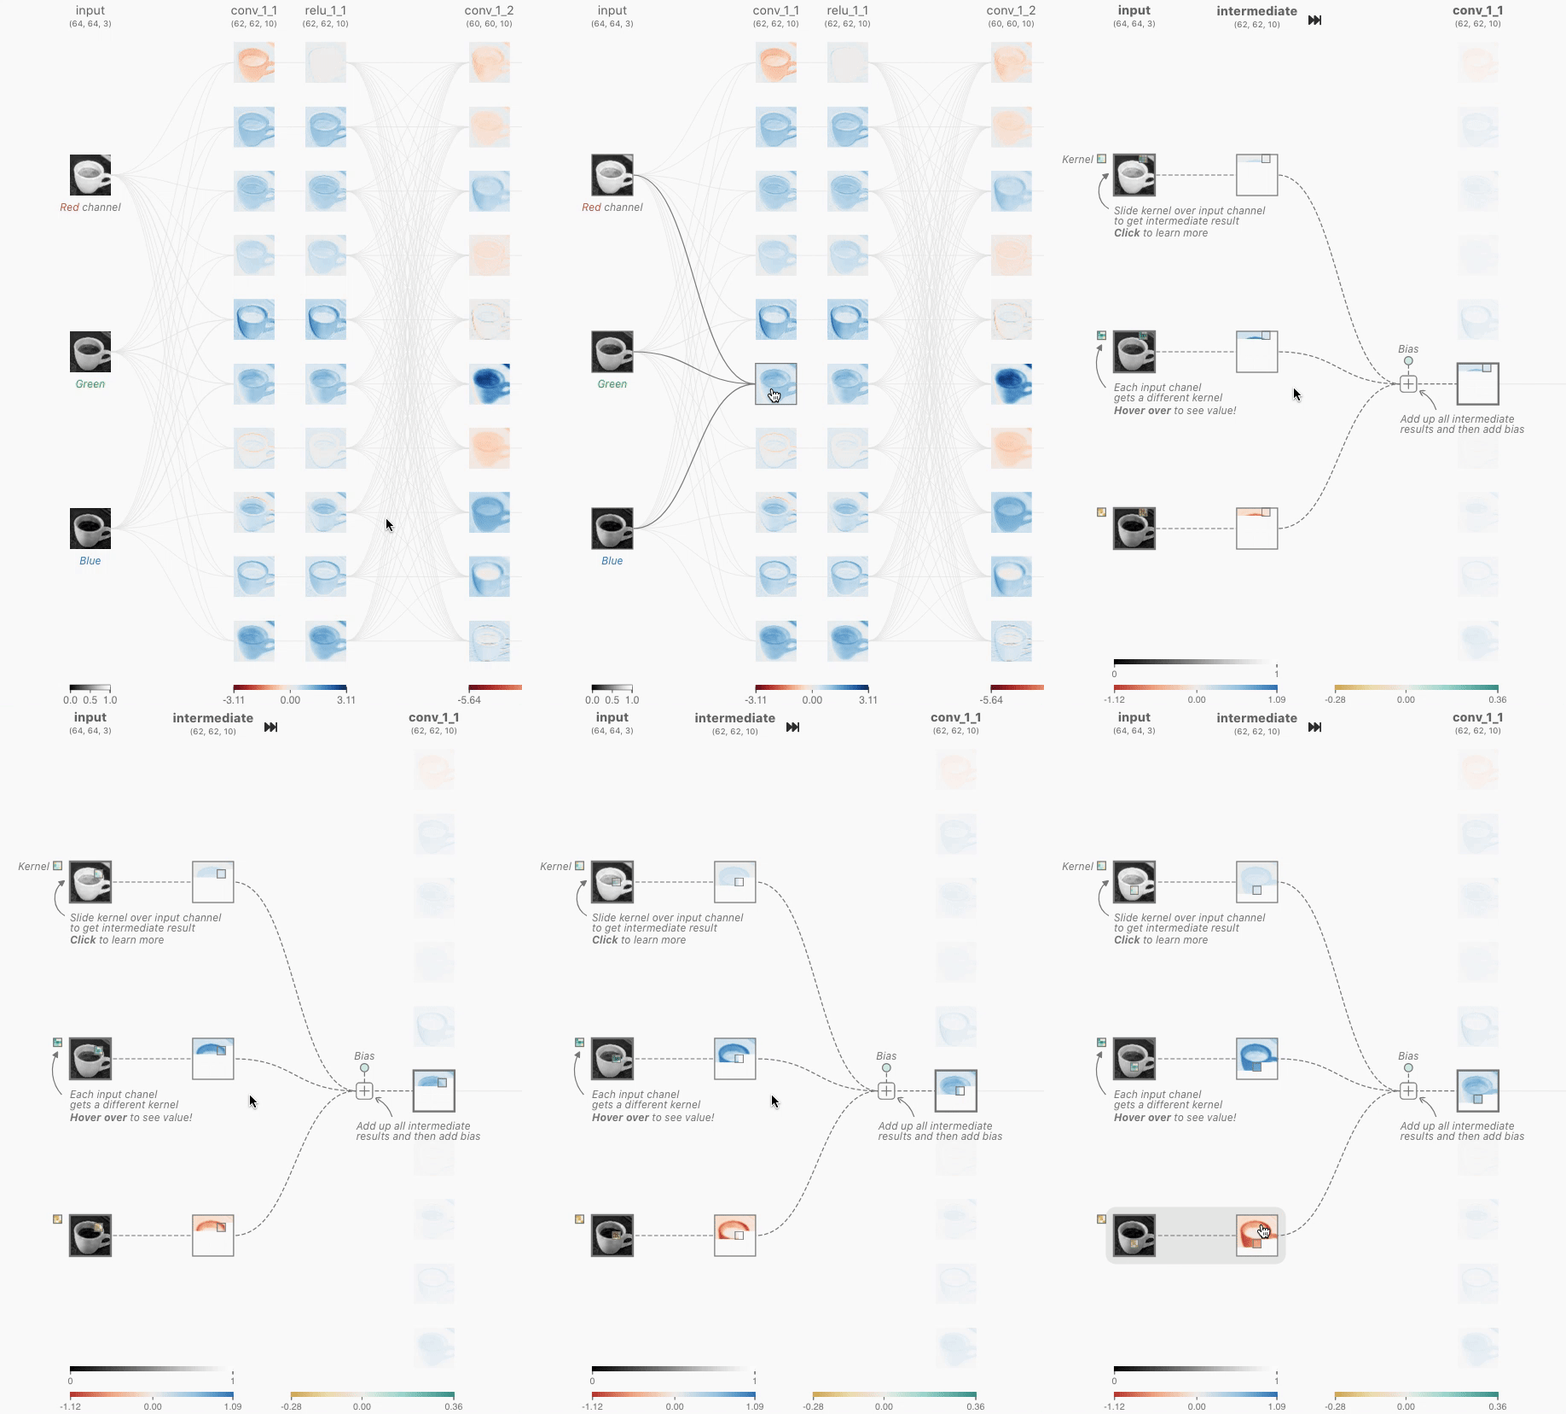
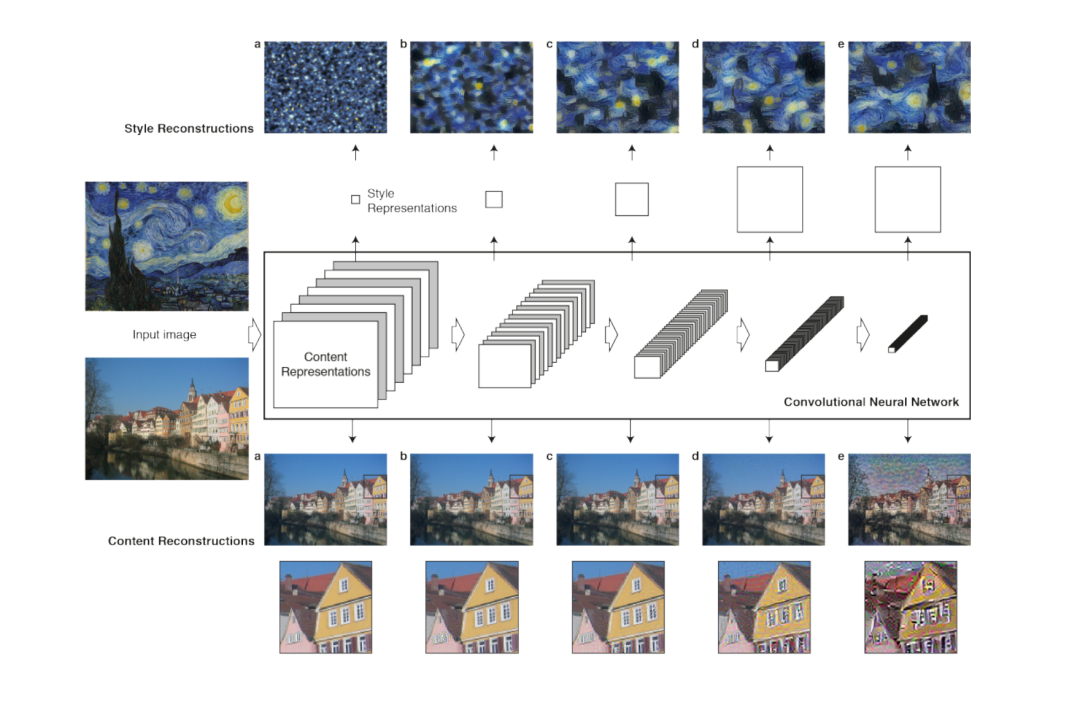
1. 利用预训练卷积神经网络提取内容图片与风格图片的各层级表示;经过良好预训练的卷积神经网络能有效提取图像的表征,不同层级的卷积表征有不同的作用,高层表征越抽象,低层表征粒度细且直观:
从上图也可以很直观的看到,在不同层级表征下,对图像风格和图像内容的重建效果有明显差异;
- 内容重建在低层表征下细节处理的非常好,几乎能复现原图片,在高层表征下有一定的细节损失;
- 风格重建在低层表征下由于抽象层次过低,很难完美复现风格,但是在高层表征下运行很好;
为了能完美兼顾细节和整体,我们的损失函数构建将使用多种层次的表征一起优化;
这里我们采用VGG预训练网络,并选取其中第0,5,10,19,28层对应的卷积输出作为不同抽象层次的表征
class VGGStyleModel(nn.Module):
    def __init__(self):
        super(VGGStyleModel, self).__init__()
        self.req_features= ['0','5','10','19','28']
        #self.req_features= ['10','19','28']
        #Since we need only the 5 layers in the model so we will be dropping all the rest layers from the features of the model
        self.model=timm.models.vgg19(pretrained=True).features[:29] #model will contain the first 29 layers


    #x holds the input tensor(image) that will be feeded to each layer
    def forward(self,x):
        #initialize an array that wil hold the activations from the chosen layers
        features=[]
        #Iterate over all the layers of the mode
        for layer_num,layer in enumerate(self.model):
            #activation of the layer will stored in x
            x=layer(x)
            #appending the activation of the selected layers and return the feature array
            if (str(layer_num) in self.req_features):
                features.append(x)

        return features
2. 构造内容表示损失函数

其中p, 表示内容图片以及原图片在第l层卷积下第i个通道的位置j的表示,x, 表示生成图片以及生成图片在第l层卷积下第i个通道的位置j的表示;
以上是公式的含义,但我更愿意用更加直觉的表述这个损失函数:度量生成图片和内容图片,在各个抽象层次的像素层面上的差异,通过降低差异(优化损失函数),使得生成图像尽可能保留内容图像上的信息;
def calc_content_loss(gen_feat,orig_feat):
    # 计算生成图片特征图与原始图片特征图内容差异损失
    # calculating the content loss of each layer by calculating the MSE between the content and generated features and adding it to content loss
    content_l=torch.mean((gen_feat-orig_feat)**2)
    return content_l
3. 构造风格表示损失函数
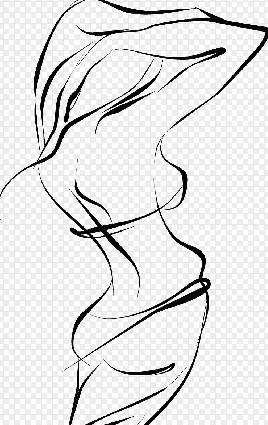
什么是风格,存在自己特性的才叫做风格,大的大,小的小,只要不是一马平川,你就有你自己的风格了...
下面这张图片大家自行领悟, what is style
那么回到正题,体现在损失函数里面,我们可以利用向量内积达到度量的目的,毕竟向量与向量做内积的时候,只有刚好大-大匹配的时候,内积才比较大? 毕竟如果一个大,一个小,内积也是不大的。
如此一来我们就引入了一个概念,叫Gram Matrix,所谓GM就是将某个图片在卷积神经网络某层的表征reshape 到二维矩阵A,其中一个维度是通道,另外一个维度是空间(长*宽),,因此GM就可以看作是一个图片的风格表示了。
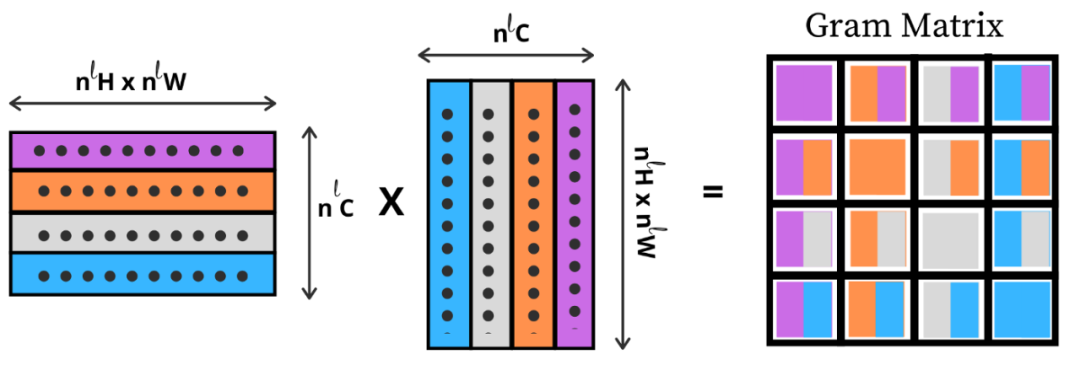
所以,我们只需要区度量风格图片和生成图片GM矩阵的差异,并通过梯度下降,不断降低这个差异,就可以实现风格的嵌入了。
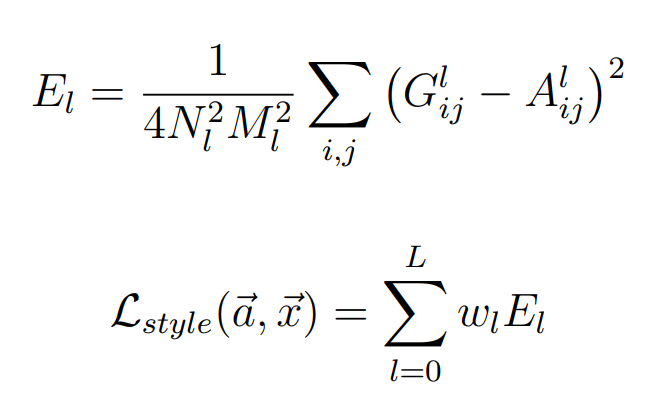
公式中代表第l层表征的风格差异,损失函数由每层的风格差异按照加权求和得到。
def calc_style_loss(gen, style):
    #Calculating the gram matrix for the style and the generated image
    batch_size,channel,height,width=gen.shape

    G=torch.mm(gen.view(channel,height*width),gen.view(channel,height*width).t())
    A=torch.mm(style.view(channel,height*width),style.view(channel,height*width).t())

    #Calcultating the style loss of each layer by calculating the MSE between the gram matrix of the style image and the generated image and adding it to style loss
    style_l=torch.mean((G-A)**2)
    return style_l
4. 总体损失
我们将不同抽象层次的风格损失&内容损失进行加权求和,就得到了总体损失;
def calculate_loss(gen_features, orig_feautes, style_featues, content_weights, style_weights):
    style_loss=content_loss=0
    for gen,cont,style,cw,sw in zip(gen_features,orig_feautes,style_featues,content_weights,style_weights):
        #extracting the dimensions from the generated image
        content_loss+=calc_content_loss(gen,cont)*cw
        style_loss+=calc_style_loss(gen,style)*sw

    #calculating the total loss of e th epoch
    total_loss=content_loss + style_loss
    return total_loss
5. 风格迁移优化
需要指出的是,和普通的神经网络任务区别在于,我们不断优化生成图像的过程是将梯度直接回传到生成图像本身的像素点上的,卷积神经网络权重不变。因此我们将整个优化过程封装到一个函数中。
imagenet_mean = np.array([0.485, 0.456, 0.406])[..., None, None]
imagenet_std  = np.array([0.229, 0.224, 0.225])[..., None, None]

def load_image(path):
    return cv2.imread(path)[:,:,::-1]  # RGB image

def transfrom_image(image, resize):
    image = cv2.resize(image, resize).transpose(2,0,1)
    image = (image/255 - imagenet_mean) / imagenet_std
    return torch.tensor(image).to(device, torch.float).unsqueeze(0)

def inverse_image(tensor):
    x = tensor.squeeze().detach().cpu().numpy()
    x = ((x*imagenet_std) + imagenet_mean) * 255
    x = x.astype(int).transpose(1,2,0)
    return x

def write_gif(images, path):
    with imageio.get_writer(path, mode='I') as writer:
        for image in images:
            writer.append_data(image.astype("uint8"))

def transfer_style(content_path, style_path, iterations, lr, style_weights, content_weights, resize=(480, 640)):
    content_image = load_image(content_path)
    style_image = load_image(style_path)
    f = plt.figure(figsize=(18, 6))
    axs = f.subplots(1, 3)
    axs[0].imshow(content_image)
    axs[0].set_title("content")
    axs[1].imshow(style_image)
    axs[1].set_title("style")

    content_tensor = transfrom_image(content_image, resize)
    style_tensor = transfrom_image(style_image, resize)
    gen_tensor = content_tensor.clone().requires_grad_(True)

    model=VGGStyleModel().to(device).eval()
    optimizer=optim.Adam([gen_tensor],lr=lr)

    gen_images = []

    for e in tqdm(range(iterations)):
        #extracting the features of generated, content and the original required for calculating the loss
        gen_features=model(gen_tensor)
        orig_feautes=model(content_tensor)
        style_featues=model(style_tensor)

        #iterating over the activation of each layer and calculate the loss and add it to the content and the style loss
        total_loss=calculate_loss(gen_features, orig_feautes, style_featues, content_weights, style_weights)
        #optimize the pixel values of the generated image and backpropagate the loss
        optimizer.zero_grad()
        total_loss.backward()
        optimizer.step()
        #print the image and save it after each 100 epoch
        if e%100 == 0:
            gen_image = inverse_image(gen_tensor)
            gen_images.append(np.clip(gen_image, 0, 255))
    axs[2].imshow(gen_images[-1])
    axs[2].set_title("generate image")
    return gen_images
DEMO
gen_images = transfer_style(
    content_path="./asset/1_image_style_transfer/hinton.png",
    style_path="./asset/1_image_style_transfer/picasso2.jpg",
    iterations=2000,
    lr=1e-2,
    style_weights=[5e6/n for n in [1, 1, 10, 10, 100]],
    content_weights=[1]*5,
    resize=(480*2, 640*2)
)

write_gif(gen_images, "./asset/1_image_style_transfer/hinton_picasso2v2.gif")
cv2.imwrite("./asset/1_image_style_transfer/hinton_picasso2v2.png", gen_images[-1][:,:,::-1])
100%|██████████████████████████████████████████████████| 2000/2000 [13:10<00:00, 2.53it/s]
Out[8]:
True
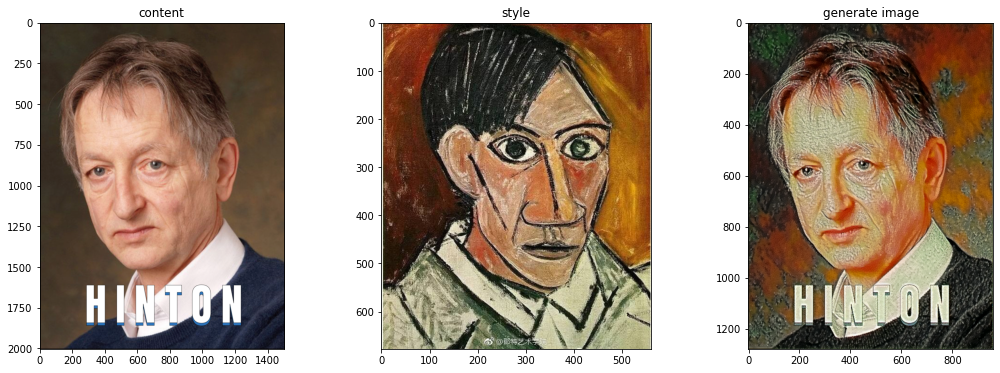
下面我们看看文化衫最终效果
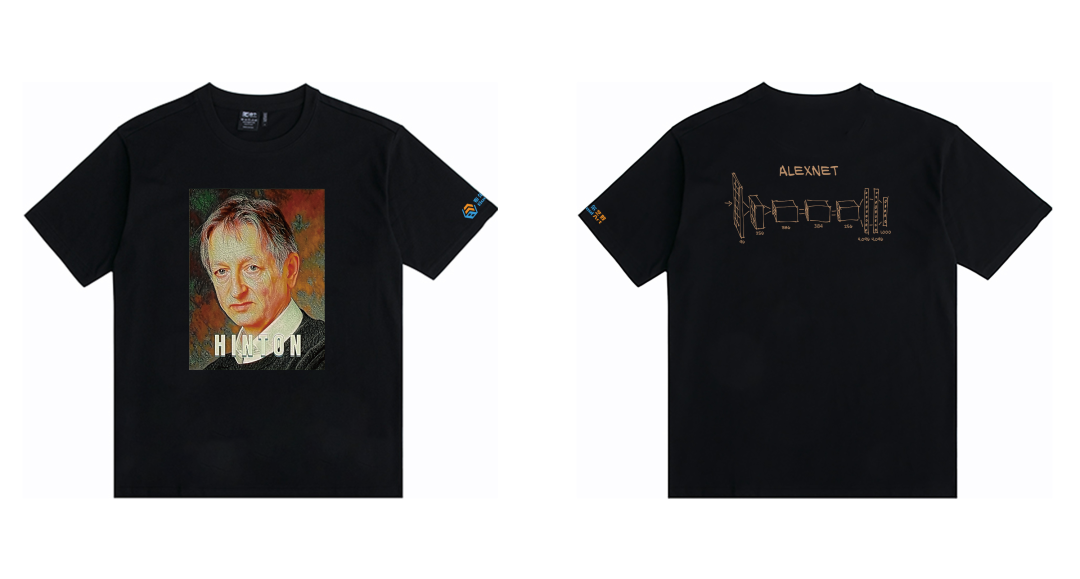
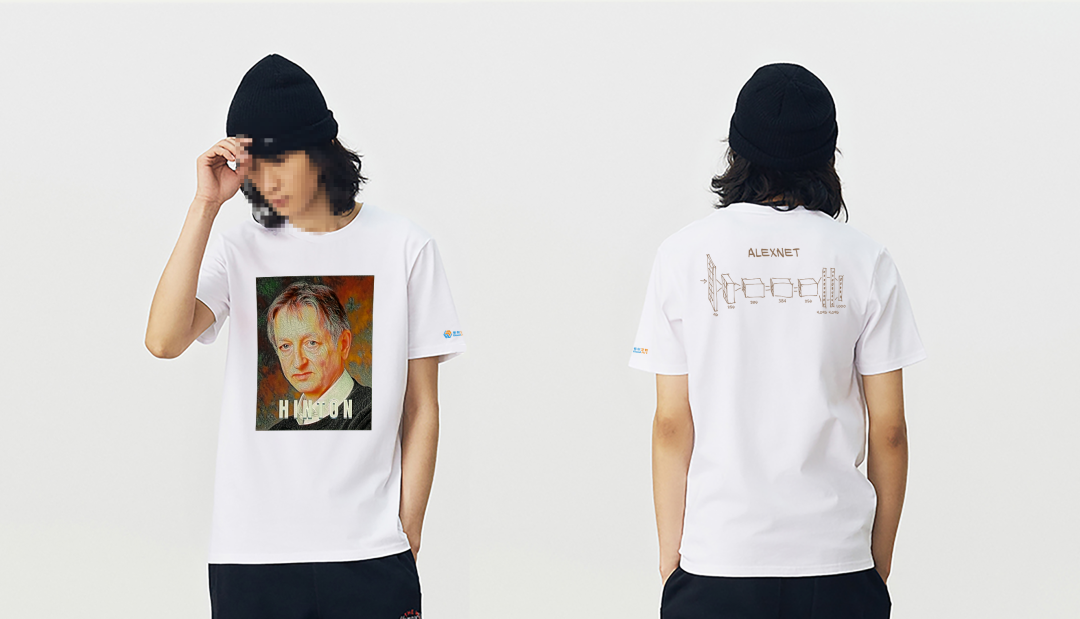
福利 同样喜欢这件文化衫的小伙伴,可以朋友圈转发本文,集齐18个赞后截图发到公众号后台,并留言收货信息,前10位集齐的小伙伴即可获得啦!本活动2022.03.20截止